Every branding project lives or dies in that fragile moment between the client brief and the first visual concept. A poorly handled handoff means weeks of revisions, frustrated clients, and a brand identity that feels disconnected from the business goals. This is exactly where a well-built mood board earns its place in your workflow.
At Casta Agency, we treat mood boards as a strategic alignment tool, not a Pinterest dump. In this guide, we walk you through our 7-step process to build mood boards that translate client briefs into a clear visual direction, secure buy-in early, and prevent expensive misunderstandings later.
What a Branding Mood Board Actually Is (and Isn’t)
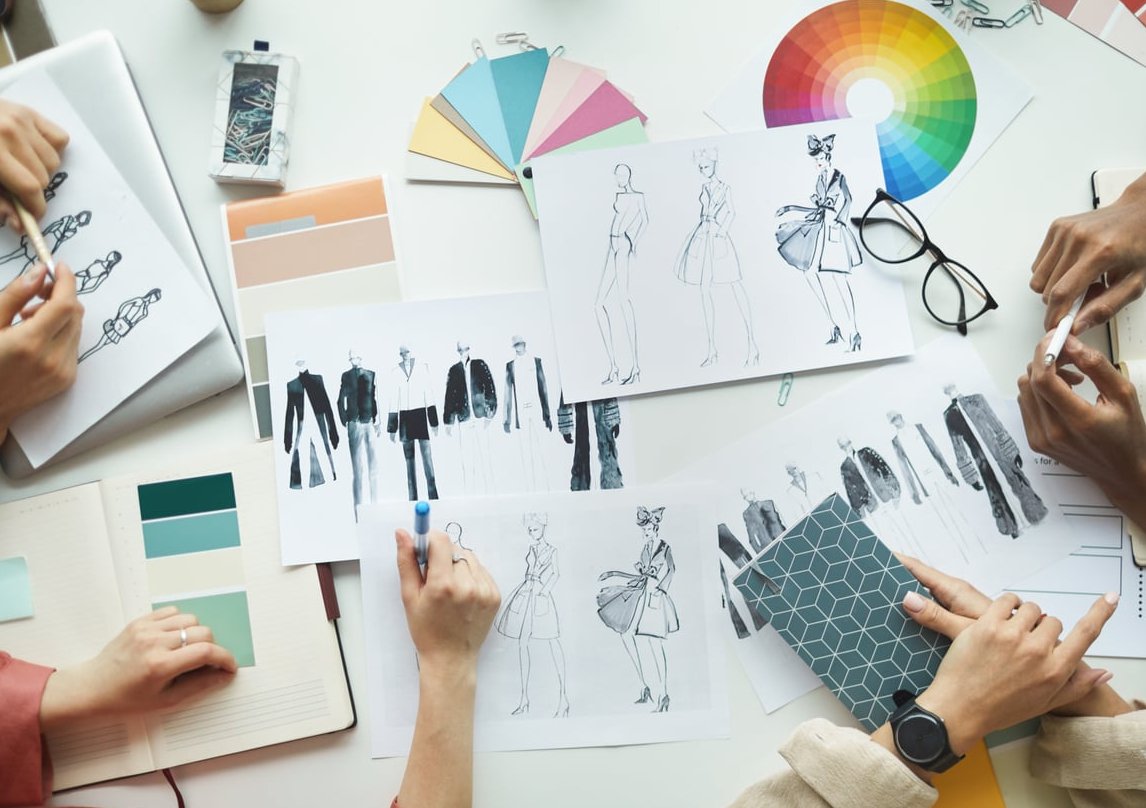
A branding mood board is a curated collection of visual references (colors, typography, imagery, textures, layouts) that communicates the intended feeling, personality, and direction of a brand before any design work begins. It is not a logo draft, not a final style guide, and not a random collage of pretty images.
The purpose is simple: get the client to look at a single board and say “yes, that’s us” or “no, that’s not us at all” before you spend hours on logo concepts.
What a Mood Board Should NOT Contain
- Finished logo concepts (that comes later)
- Random images you personally find beautiful but don’t tie to the brief
- Competitor logos used as direct references
- Too many directions on one board (pick a lane)
How to Build a Mood Board for Branding: The 7-Step Process
Step 1: Extract the Strategic Keywords from the Brief
Before opening any design tool, sit with the client brief and pull out 3 to 5 adjectives that describe the brand’s personality. If the brief is vague, ask the client directly: “If your brand walked into a room, how would people describe it?”
Common examples we use as starting points:
- Bold, raw, confident
- Calm, refined, trustworthy
- Playful, energetic, accessible
- Minimal, technical, premium
These keywords become your filter. Every image you add must defend one of them.
Step 2: Define the Audience and Context
A brand for a luxury skincare line targeting women aged 35 to 55 has nothing in common visually with a brand for a Web3 startup. Write down:
- Who the brand speaks to (demographics, psychographics)
- Where the brand will be seen (packaging, app, billboard, social)
- What competitors look like (to differentiate, not copy)
Step 3: Source Images Strategically
This is where most designers fail. They open Pinterest and start grabbing whatever feels nice. Instead, source from varied, intentional channels.
| Source Type | What to Look For | Recommended Platforms |
|---|---|---|
| Photography | Tone, lighting, subject matter | Unsplash, Pexels, Behance |
| Typography | Weight, contrast, personality | Fonts In Use, Google Fonts |
| Color | Palette, contrast, mood | Coolors, Adobe Color |
| Textures & Materials | Tactile feel, depth | Behance, Are.na |
| Layout & Composition | Hierarchy, white space, structure | Dribbble, Are.na, SiteInspire |
Rule of thumb: aim for 15 to 25 high-quality images. Less than 10 feels thin, more than 30 dilutes the message.
Step 4: Organize by Visual Category
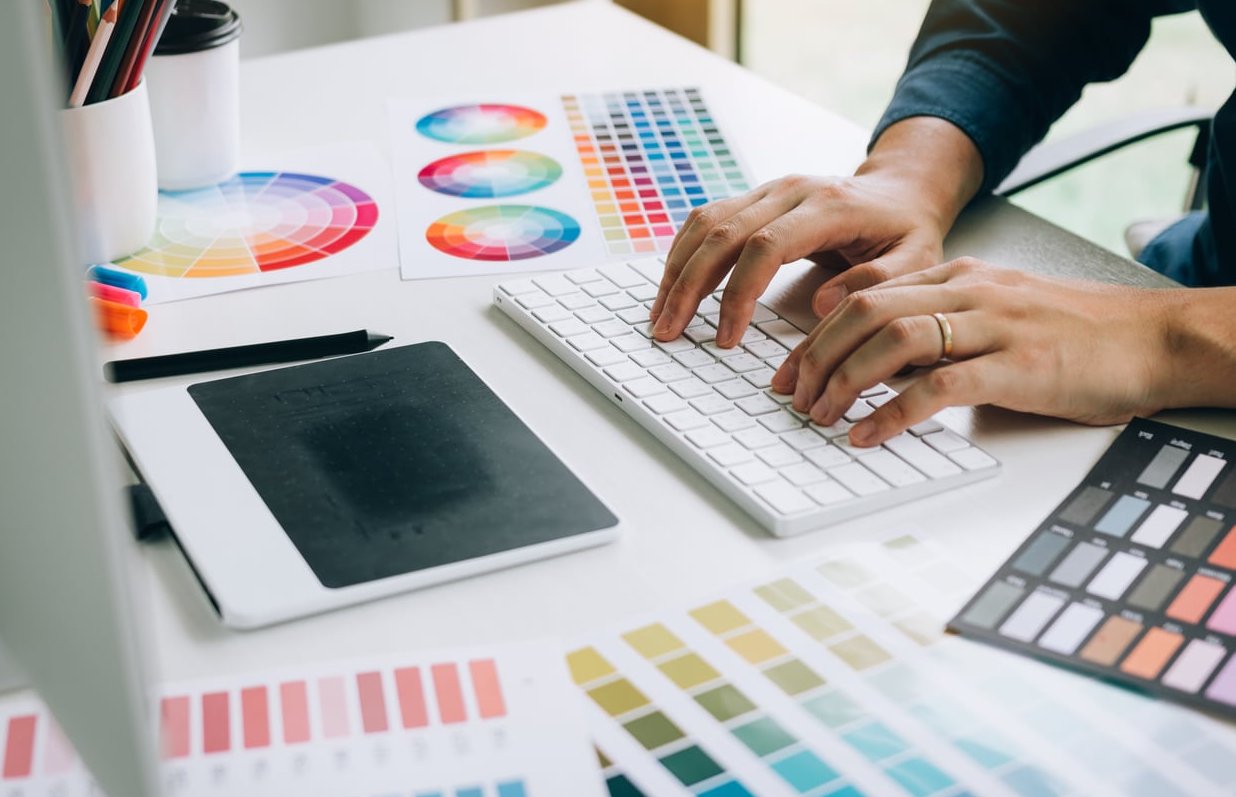
Don’t just throw images on a canvas. Group them. We typically use 5 zones on every mood board:
- Color palette (hex codes visible)
- Typography samples (real or placeholder)
- Photography style (lighting, subjects, treatment)
- Graphic elements (patterns, icons, shapes)
- Applications (packaging, signage, digital examples)
This structure helps clients understand why each image is there, instead of reacting emotionally to individual visuals.
Step 5: Add Strategic Annotations
This is the single biggest differentiator between a mood board that aligns clients and one that confuses them. Add short captions next to image clusters:
- “Editorial photography with natural light reinforces the ‘refined’ attribute from the brief”
- “Serif typography signals heritage and trust, aligned with your premium positioning”
- “Deep greens and warm neutrals create the ‘grounded’ feeling we discussed”
Annotations turn the board from a subjective collage into a defensible strategic document.
Step 6: Present, Don’t Just Send
Never email a mood board PDF and ask “what do you think?”. That invites random feedback like “I don’t like that blue”. Instead:
- Schedule a 30-minute call
- Walk the client through each zone
- Tie every visual choice back to a brief keyword
- Ask targeted questions: “Does this photography style feel aligned with how your customers see you?”
Step 7: Iterate Once, Lock It In
Offer one round of revisions, then lock the mood board as the official visual direction. Get written approval. This becomes your reference point when you present logo concepts and the client says something unexpected, you can point back to the approved mood board.
Recommended Tools to Build Your Mood Board in 2026
| Tool | Best For | Pricing |
|---|---|---|
| Figma / FigJam | Collaborative boards with annotations | Free tier available |
| Milanote | Visual organization with notes | Free / Paid plans |
| Are.na | Curated research and references | Free / Premium |
| Canva | Quick boards with templates | Free / Pro |
| Adobe Express | Polished client-facing decks | Free / Paid |
Common Mistakes That Kill a Mood Board
- No connection to the brief: images chosen on personal taste
- Too many directions: trying to please everyone, aligning no one
- No annotations: letting clients project their own meaning onto every image
- Skipping the live presentation: sending a static PDF and hoping for the best
- Including competitor work directly: sets the wrong expectation
FAQ
What is a mood board for branding?
A mood board for branding is a visual document that gathers colors, typography, imagery and textures to communicate the intended personality and direction of a brand before design execution begins. It aligns the client and the designer on visual language.
What are the three main components of a mood board?
The three core components are: color palette, typography references, and imagery (photography, textures, graphic elements). A strong mood board also includes annotations linking each choice to the brand strategy.
What shouldn’t appear on a mood board?
Finished logo concepts, direct copies of competitor work, random images unrelated to the brief, and conflicting visual directions on the same board. Keep it focused and strategic.
How many images should a mood board contain?
Aim for 15 to 25 carefully chosen images. Less than 10 feels incomplete, more than 30 dilutes the visual message and makes the board harder to read.
How long does it take to build a branding mood board?
For a professional branding project, expect 4 to 8 hours of focused work: 1 hour reviewing the brief, 2 to 3 hours sourcing images, 2 hours organizing and annotating, and 1 hour preparing the client presentation.
Should I create one mood board or multiple directions?
For most projects, we recommend presenting two distinct directions. This gives the client a meaningful choice without overwhelming them, and the contrast helps them articulate what they actually want.
Final Thoughts
A mood board is the cheapest insurance policy in a branding project. Spend a focused day building one properly and you save weeks of revisions later. Treat it as a strategic document, defend every image with logic tied to the brief, and present it live. Do this consistently and your client relationships, your timelines and your final brand identities will all improve.
Need help building a brand that actually aligns with your business strategy? Get in touch with the Casta Agency team and let’s talk.